This article introduces the environment setup and how to create React component.
Overview of React JS
React is a JavaScript library for building interactive User Interfaces (UI’s) & it’s developed by Facebook in 2011. It follows the component-based approach which helps in building complex and reusable UI components.
Environment Setup
Tools required for ReactJS environment
1. Node.js
2. Visual Studio Code(Editor) / you can use any editor
Steps to Setup ReactJS Environment
To run the React application, NodeJS should be installed on our PC.
Then follow the below steps:
Step 1: Install NodeJS. You need to visit the official download link of NodeJS to download and install the latest version. Once we have set up NodeJS on our PC, the next thing we need to do is to set up React Boilerplate.
Step 2: Create a directory for React.js App:
using command –
mkdir ReactWorkspace
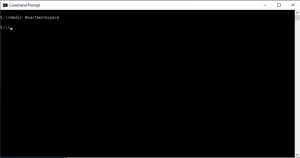
Step 3: Go to newly created ReactWorkspace directory location using command – see screenshot:
cd ReactWorkspace

Step 4: Setting up React Boilerplate.
We will install the boilerplate globally.
npm install –g create-react-app
Create a React Boilerplate using the above command – see screenshot.

-g represents the global installation type.
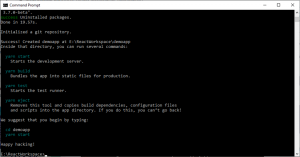
Step 5: After successfully installing a global react environment. Create react demo app using the following command:
create-react-app demoapp
The above statement will create a new directory named demoapp inside your current directory with a bunch of files needed to successfully run a React app.
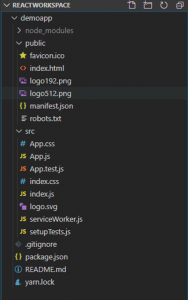
Let’s have the look at the directory created by the above command:
In the following directory, you will see a number of files. The main files we will be working on within the basic course are index.html and index.js. The index.html file will have a div element with id = “root”, inside which everything will be rendered and all of our React code will be inside the index.js file.
Now, that we have successfully set up the development environment for React Js.
The last thing is to start the development server.
Step 6: To start the development server, go inside your current directory “demoapp” and execute the below command:
npm start
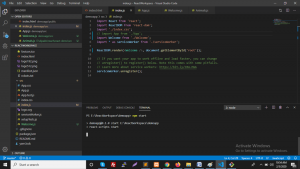
After successfully running the above command your compiler will show the below message on your screen:
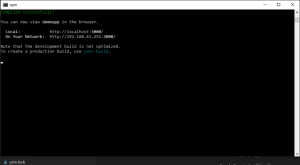
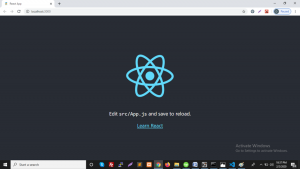
And after starting our first React application, we will see the default screen on the browser.
Component creation in React Js:
Components are the reusable peace of code for building blocks of any React application. It’s like JavaScript functions. They accept arbitrary inputs (called “props”) and return React elements describing what should display on the screen.
We have seen the default structure of the ReactJS application in step 5 second screenshot.
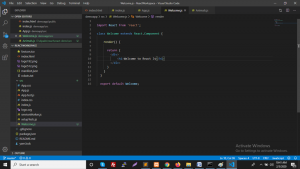
Create a new component file in /src folder-
I have created Welcome.js and add component code in that file-
import React from 'react';

class Welcome extends React.Component {

render() {

return (
Welcome to React Js
)
}
}
export default Welcome;
see the following screenshot:
And we need to add our newly created Welcome.js file into index.js to see it on the browser screen:
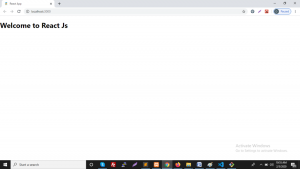
Now we can see the output on browser screen:
In the above article, we learned how to setup React JS Environment and create simple components.


No comment yet, add your voice below!